6 Quick and Delicious Holiday Appetizers for Stress-Free Entertaining
The holiday season is synonymous with gatherings, celebrations, and, of course, delicious food. While main courses and desserts often steal the spotlight, appetizers are the true unsung heroes of any festive feast. They set the tone for the evening and keep guests satisfied until the main meal. Here are six easy-to-make appetizer recipes that are sure to delight your guests and make holiday entertaining a breeze.
Caprese Skewers

Ingredients:
Cherry tomatoes
Mini mozzarella balls (also known as bocconcini)
Fresh basil leaves
Balsamic glaze
Small skewers or toothpicks
Instructions:
Prepare Ingredients: Wash the cherry tomatoes and basil leaves. Pat them dry with a paper towel to remove any excess moisture.
Assemble Skewers: Start by threading a cherry tomato onto a skewer. Follow this with a fresh basil leaf, gently folded if large, and then a mini mozzarella ball. Repeat this process until the skewer is filled, leaving enough space at the bottom for holding. Aim for a visually appealing pattern of red, green, and white.
Arrange the Skewers: Place the assembled skewers on a serving platter. If preparing ahead of time, cover the platter with plastic wrap and refrigerate to keep the ingredients fresh.
Drizzle with Balsamic Glaze: Just before serving, drizzle the skewers with balsamic glaze. For a controlled and even drizzle, use a squeeze bottle or a spoon.
Garnish and Serve: Optionally, you can add a final garnish of a sprinkle of salt, pepper, or additional basil leaves. Serve the skewers as a refreshing and picturesque appetizer.
Tips:
For an extra touch of elegance, you can use longer cocktail skewers and arrange them in a tall glass or vase.
If you can’t find balsamic glaze, you can easily make it by reducing balsamic vinegar over low heat until it thickens.
For a variation, you can add a small piece of grilled chicken or a folded piece of prosciutto to each skewer.
Enjoy this simple yet classic Italian appetizer that is sure to be a hit at your holiday gathering!
Smoked Salmon Crostini

Ingredients:
1 baguette, sliced into 1/4 inch rounds
Olive oil (for brushing)
8 oz smoked salmon, thinly sliced
1 cup cream cheese, softened
Fresh dill, finely chopped
1 lemon, for zest and juice
Capers (optional, for garnish)
Salt and pepper to taste
Instructions:
Preheat the Oven: Preheat your oven to 375°F (190°C). This temperature is ideal for toasting the baguette slices to the perfect level of crispness.
Prepare the Baguette: Arrange the baguette slices on a baking sheet. Lightly brush each slice with olive oil and sprinkle a little salt. Bake in the preheated oven for about 10-15 minutes, or until the slices are golden brown and crispy. Remove from the oven and let them cool.
Mix the Cream Cheese: In a small bowl, mix the cream cheese with a little lemon zest and fresh dill. Season with salt and pepper. You can adjust the amount of lemon zest and dill based on your preference.
Assemble the Crostini: Spread a generous amount of the lemon-dill cream cheese on each toasted baguette slice. Then, place a slice or two of smoked salmon on top.
Add Final Touches: Garnish each crostini with more fresh dill, a few capers (if using), and a light drizzle of lemon juice. The lemon juice will add a fresh zing that complements the smoked salmon beautifully.
Serve: Arrange the crostinis on a serving platter. They are best served immediately, while the baguette slices are still crisp.
Tips:
For added flavor, you can rub a cut clove of garlic over each toasted baguette slice before adding the toppings.
If you want a bit of crunch, consider adding thinly sliced cucumber or radish on top of the cream cheese before adding the salmon.
Ensure the baguette slices are not too thick to maintain a balanced ratio between the bread and the toppings.
Enjoy this elegant and flavorful appetizer that is perfect for holiday gatherings, cocktail parties, or as a sophisticated snack!
Spinach and Artichoke Dip

Ingredients:
1 cup fresh spinach, chopped (or 10 oz frozen spinach, thawed and drained)
1 (14 oz) can artichoke hearts, drained and chopped
1/2 cup sour cream
8 oz cream cheese, softened
1 cup shredded Parmesan cheese
1 cup shredded mozzarella cheese
2-3 cloves garlic, minced
Salt and pepper, to taste
1/4 teaspoon crushed red pepper flakes (optional)
1 tablespoon olive oil
Instructions:
Preheat the Oven: Preheat your oven to 375°F (190°C). This temperature is ideal for baking the dip to a bubbly, golden brown.
Prepare the Spinach: If using fresh spinach, briefly sauté it in olive oil until wilted. If using frozen spinach, ensure it is thoroughly thawed and squeeze out excess moisture.
Combine Ingredients: In a large bowl, mix together the cream cheese, sour cream, minced garlic, Parmesan cheese, and half of the mozzarella cheese. Add the spinach and chopped artichokes. Stir well to combine. Season with salt, pepper, and red pepper flakes if using.
Transfer to Baking Dish: Spread the mixture into an oven-safe dish, such as a pie plate or a small baking dish.
Add Toppings: Sprinkle the remaining mozzarella cheese on top.
Bake the Dip: Bake in the preheated oven for about 20-25 minutes, or until the cheese is melted and the top is slightly golden.
Serve: Let the dip cool slightly before serving. Serve it warm with a selection of dippers like tortilla chips, pita chips, baguette slices, or fresh vegetables.
Tips:
For added flavor, you can mix in a small amount of chopped sun-dried tomatoes or a dash of Worcestershire sauce.
To make this dip ahead of time, prepare the mixture, place it in the baking dish, cover, and refrigerate. Bake it just before you’re ready to serve.
For a lighter version, you can use low-fat cream cheese and sour cream.
This Spinach and Artichoke Dip is a classic appetizer that’s always a crowd-pleaser at any gathering. Its creamy, cheesy goodness paired with the hearty flavors of spinach and artichokes make it a perfect starter for your holiday feasts!
Mini Quiche Lorraine

Ingredients:
1 ready-made pie crust or puff pastry sheet
4 large eggs
1 cup heavy cream
3/4 cup grated Gruyere or Swiss cheese
1/2 cup cooked bacon, crumbled
1/4 cup finely chopped onion
Salt and pepper to taste
A pinch of nutmeg
Butter or cooking spray for greasing the muffin tin
Instructions:
Preheat the Oven and Prepare the Muffin Tin: Preheat your oven to 375°F (190°C). Grease a mini muffin tin with butter or cooking spray.
Prepare the Pie Crust: Roll out the pie crust or puff pastry on a lightly floured surface. Using a round cookie cutter or a glass, cut out circles slightly larger than the muffin cups. Gently press the pastry circles into the muffin cups, forming small tart shells. Prick the bottom of each with a fork.
Cook the Bacon and Onion: In a skillet, cook the bacon until crisp. Remove and let it cool, then crumble. In the same skillet, sauté the onion until translucent.
Mix the Filling: In a bowl, whisk together the eggs, heavy cream, salt, pepper, and a pinch of nutmeg. Stir in the grated cheese, crumbled bacon, and cooked onion.
Assemble the Quiches: Spoon the egg mixture into each pastry-lined muffin cup, filling them about 3/4 full.
Bake the Quiches: Bake in the preheated oven for about 20-25 minutes, or until the filling is set and the pastry is golden brown.
Serve: Let the quiches cool in the tin for a few minutes before removing them. Serve warm.
Tips:
For a vegetarian version, omit the bacon and add sautéed mushrooms or spinach.
These mini quiches can be made ahead and reheated in the oven before serving.
If using puff pastry, keep it chilled until ready to use, as it's easier to handle when cold.
These Mini Quiche Lorraines are a perfect bite-sized appetizer for any holiday gathering. They offer a delightful combination of creamy, cheesy, and savory flavors that are sure to impress your guests!
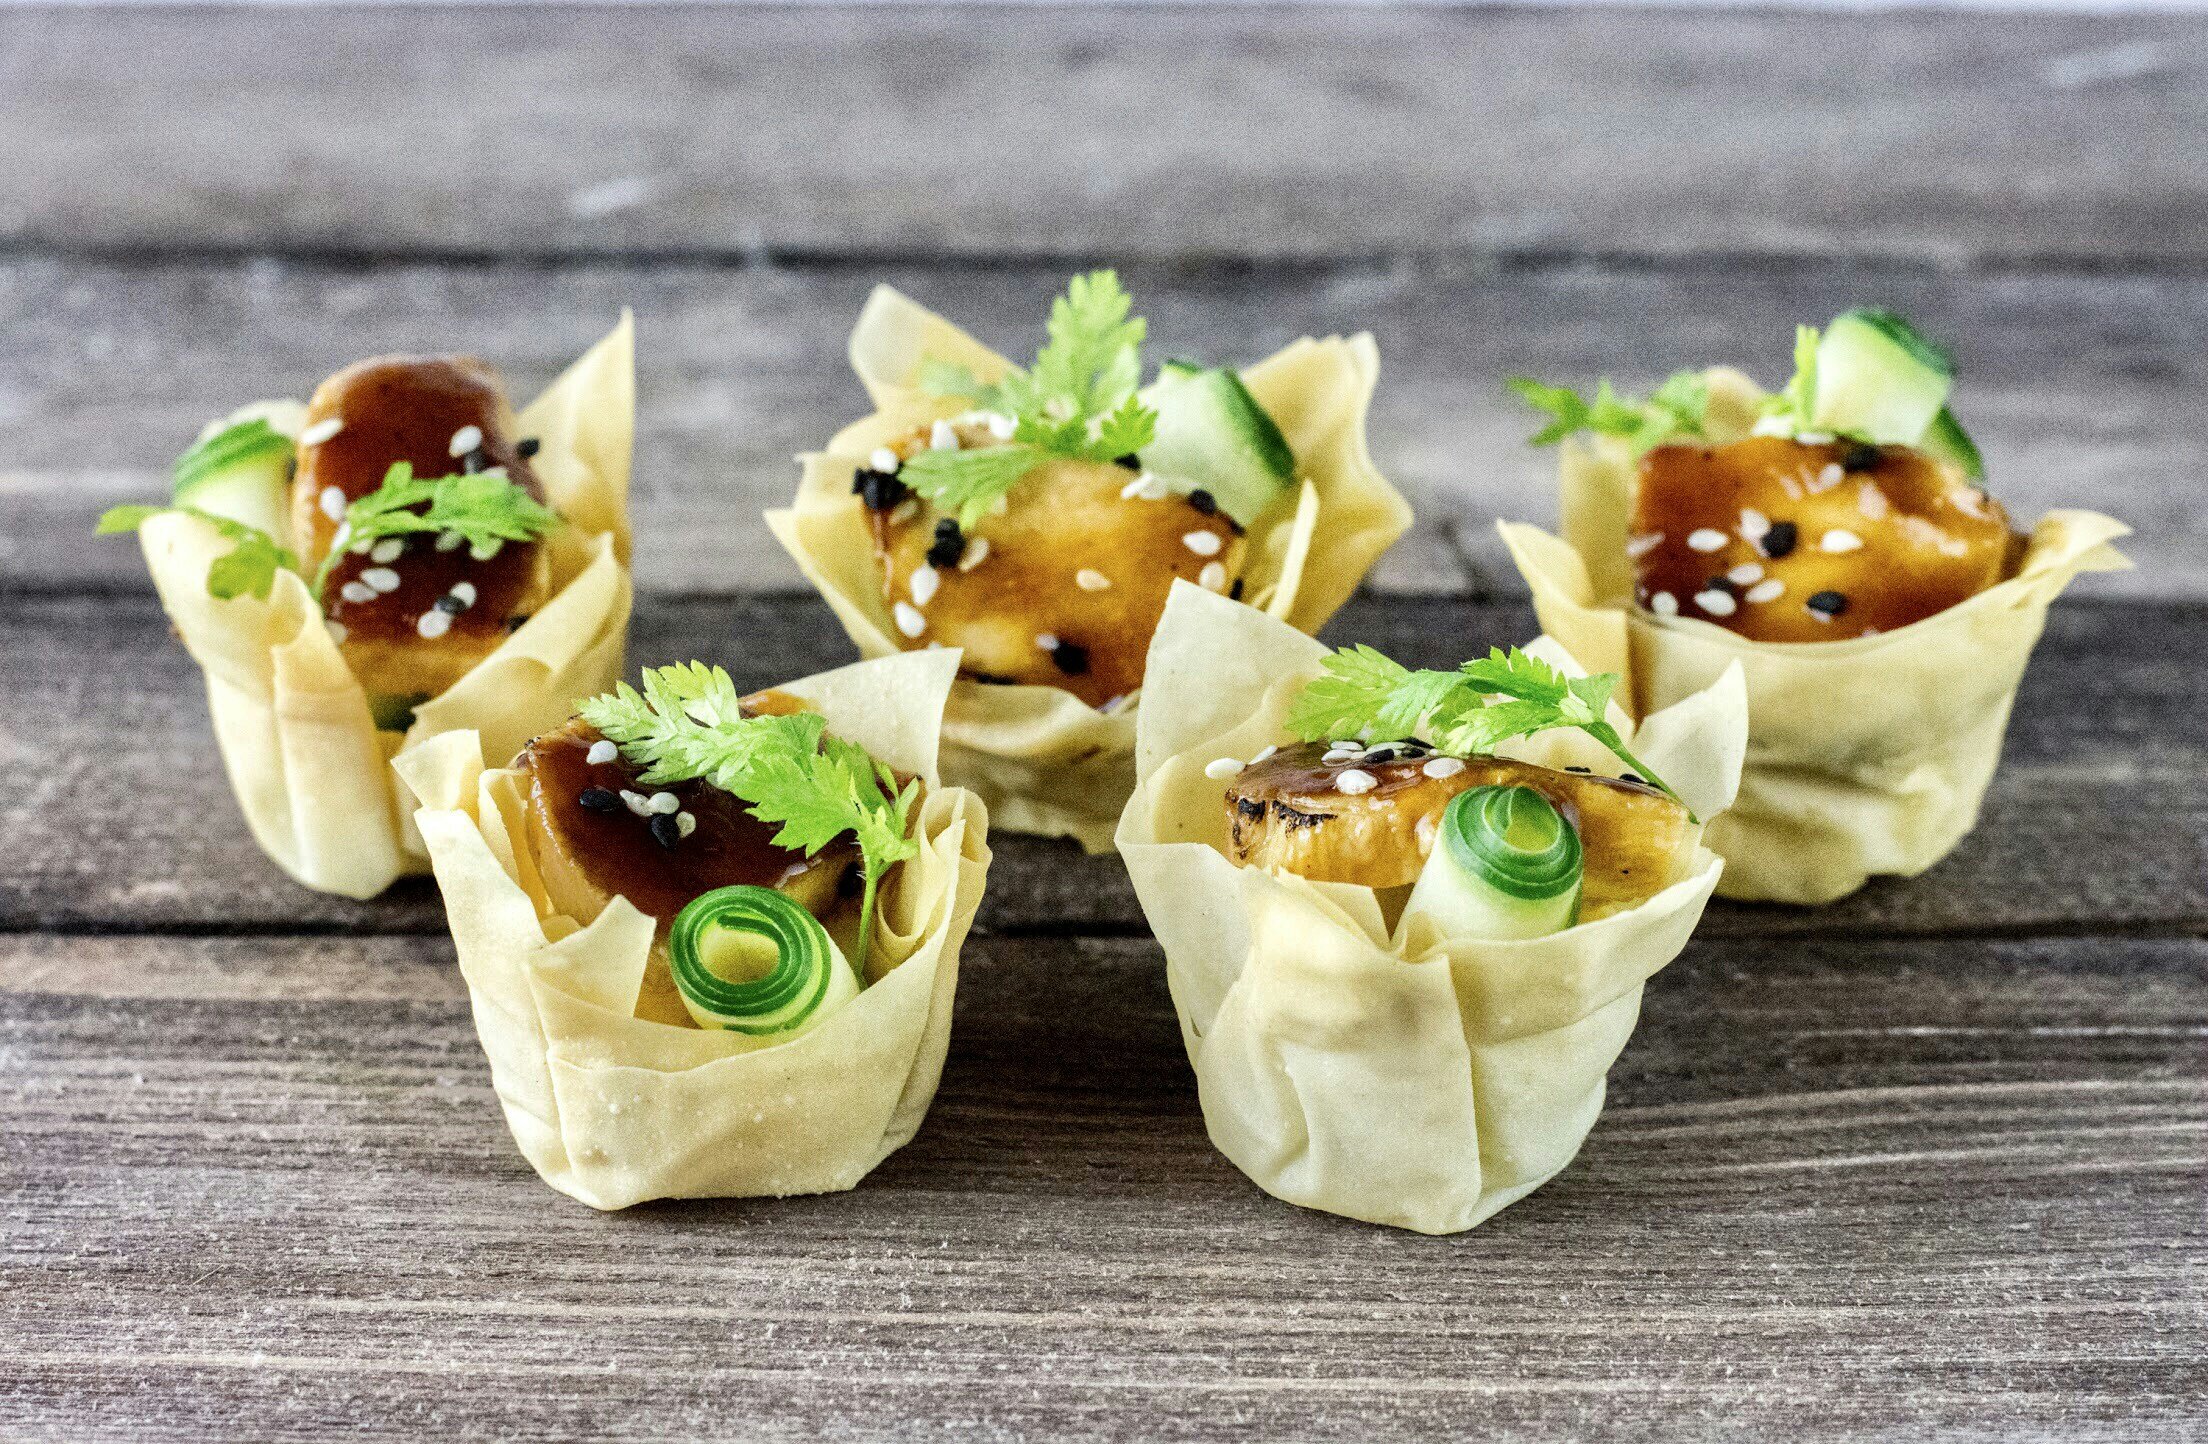
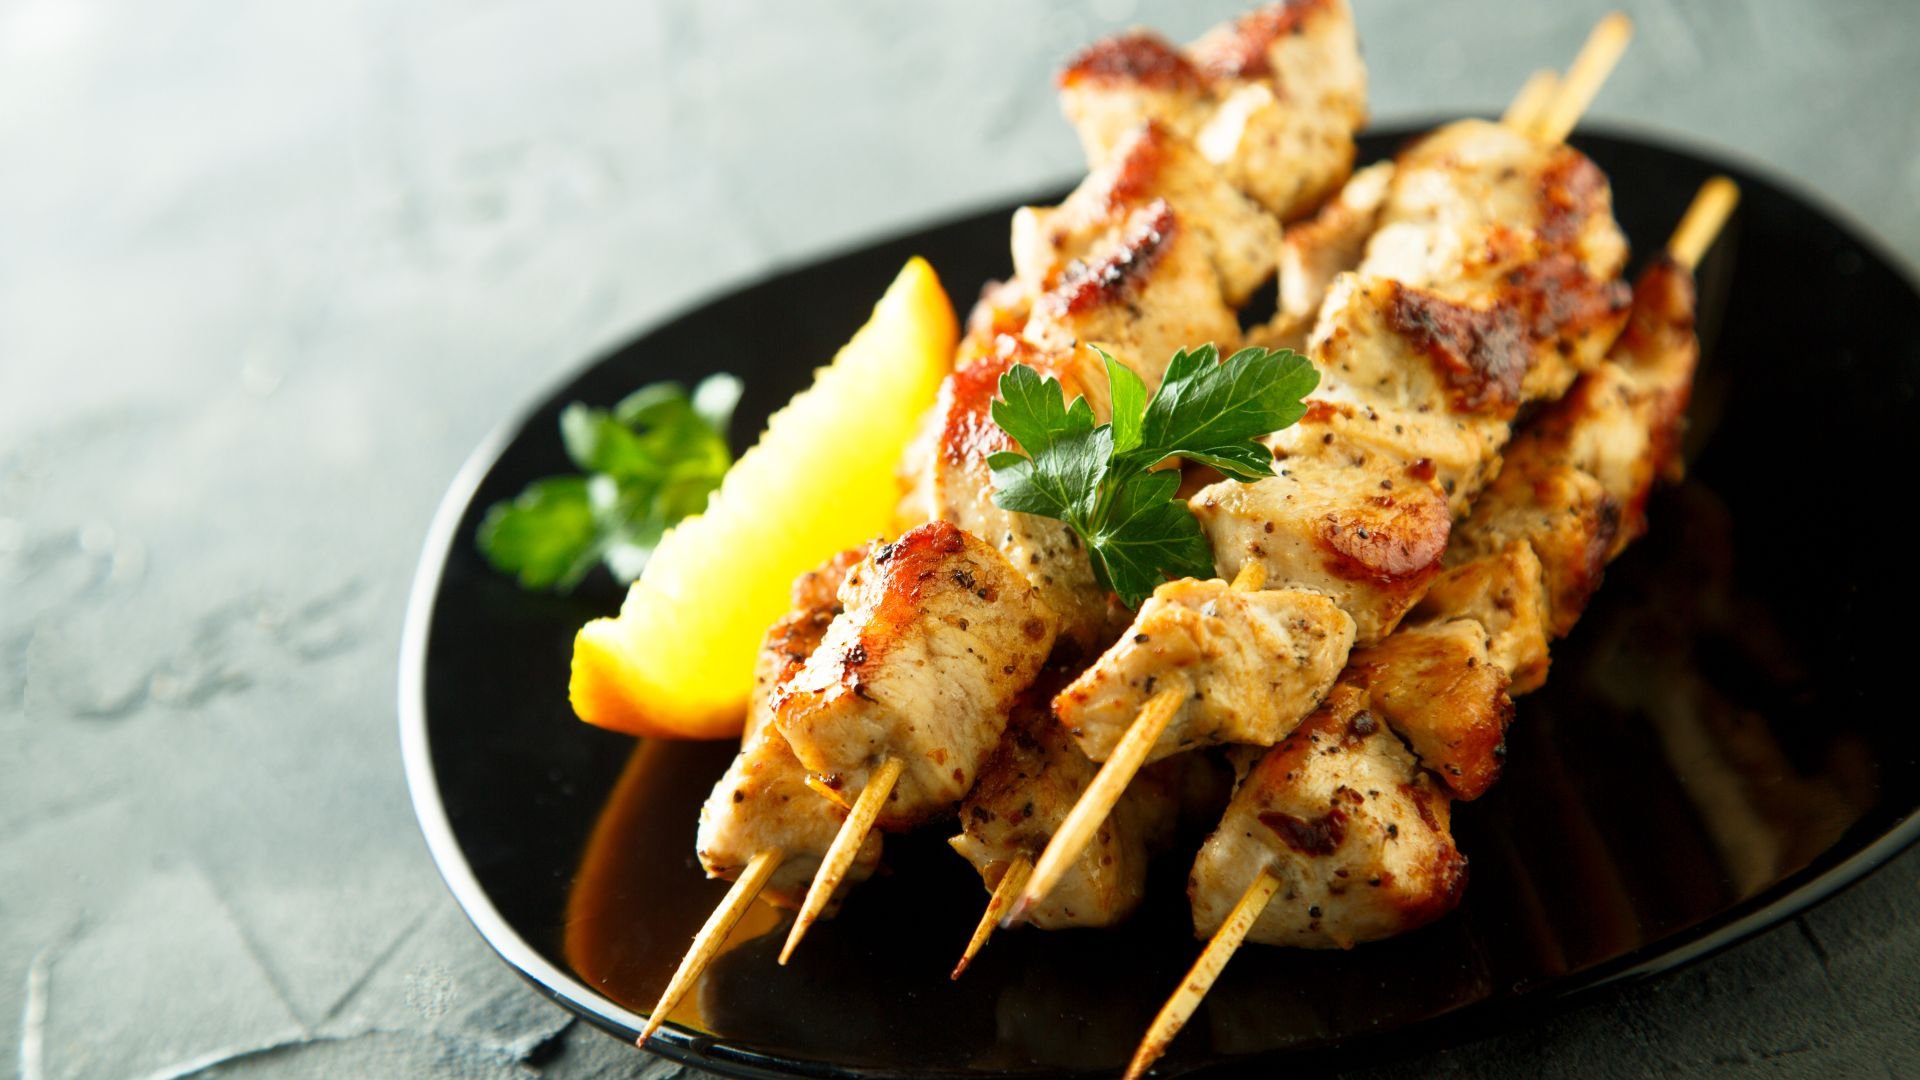
Chicken Skewers
Ingredients:
2 lbs boneless, skinless chicken breasts or thighs, cut into 1-inch cubes
1/4 cup olive oil
3 tablespoons soy sauce
2 tablespoons honey
1 tablespoon apple cider vinegar
2 cloves garlic, minced
1 teaspoon ground ginger
Salt and pepper, to taste
Wooden or metal skewers
Optional: red onion, bell peppers, cherry tomatoes, zucchini (cut into chunks for skewering)
Marinade Instructions:
Prepare the Marinade: In a mixing bowl, whisk together olive oil, soy sauce, honey, apple cider vinegar, minced garlic, and ground ginger. Season with salt and pepper to taste.
Marinate the Chicken: Place the chicken cubes in the marinade and ensure they are well coated. Cover and refrigerate for at least 1 hour, or for better flavor, leave it to marinate overnight.
Skewer Instructions:
Preheat Grill or Oven: Preheat your grill to medium-high heat or your oven to 375°F (190°C).
Prepare Skewers: If using wooden skewers, soak them in water for at least 30 minutes to prevent burning. Thread the marinated chicken cubes onto the skewers, leaving a small space between each piece. If using vegetables, alternate them with the chicken pieces on the skewers.
Cook the Skewers: Place the skewers on the grill and cook for 10-15 minutes, turning occasionally, until the chicken is cooked through and has a slight char. If using an oven, place skewers on a baking sheet and bake for 20-25 minutes, turning halfway through.
Serving: Serve the chicken skewers hot, either on their own or with a side of rice, salad, or dipping sauce.
Tips:
For a spicy twist, add a pinch of chili flakes or cayenne pepper to the marinade.
Chicken thighs tend to be juicier and more flavorful, but chicken breasts are a leaner option.
These skewers are great for meal prep as they can be marinated ahead and cooked quickly.
Enjoy your homemade chicken skewers, a simple yet delicious dish perfect for any occasion, from casual barbecues to elegant dinners!
Stuffed Mushrooms

Ingredients:
24 whole fresh mushrooms
1 tablespoon olive oil
1 tablespoon minced garlic
1 (8 oz) package cream cheese, softened
1/4 cup grated Parmesan cheese
1/4 teaspoon ground black pepper
1/4 teaspoon onion powder
1/4 teaspoon ground cayenne pepper
1/2 cup Italian-style bread crumbs
A handful of fresh parsley, finely chopped
Instructions:
Preheat the Oven: Preheat your oven to 350°F (175°C).
Clean the Mushrooms: Gently clean the mushrooms with a damp cloth and carefully remove the stems. Chop the stems finely and set aside.
Sauté Mushroom Stems and Garlic: Heat olive oil in a large skillet over medium heat. Add the chopped mushroom stems and garlic. Sauté until any moisture has disappeared and they are tender. Set aside to cool.
Prepare the Filling: In a mixing bowl, combine the cream cheese, Parmesan cheese, black pepper, onion powder, and cayenne pepper. Add the cooled mushroom stem mixture. Mix well.
Stuff the Mushrooms: Using a small spoon, fill each mushroom cap with a generous amount of the cream cheese mixture. Sprinkle the stuffed mushrooms with bread crumbs, and then with chopped parsley.
Bake the Mushrooms: Arrange the mushroom caps on a baking sheet. Bake in the preheated oven for 20 minutes, or until the mushrooms are piping hot and liquid starts to form under the caps.
Serve: Serve the stuffed mushrooms warm as an appetizer or a side dish.
Tips:
For a non-vegetarian version, you can add finely chopped cooked bacon or sausage to the filling.
You can also top the mushrooms with a small piece of mozzarella or cheddar cheese before baking for extra cheesiness.
If you prefer a crunchier top, broil the mushrooms for an additional 1-2 minutes after baking.
These stuffed mushrooms, with their creamy and savory filling, are sure to be a hit at any gathering, offering a delicious and elegant appetizer that's surprisingly easy to make!
These appetizers are not only easy to make but are also big on flavor and presentation. They are perfect for keeping your guests mingling and munching as you put the finishing touches on your holiday meal. Remember, the best holiday gatherings are filled with laughter, love, and plenty of good food.
Want more festive culinary inspirations and entertaining tips? Subscribe to our newsletter at The Art of Celebrating. Join our community for the latest in holiday recipes, decor ideas, and much more to make your celebrations truly unforgettable. Visit The Art of Celebrating to subscribe and start celebrating! 🎉🍴